Atari Punk Paddle
For many years now I’ve been having my students build an Atari Punk Console (stepped-tone generator) as one of their first assignments in my Interaction Design course. This is a great project for many reasons:
- It’s easy for a beginner to build and debug in a single course meeting
- you need to learn about all the major electronics components and principles
- It makes a satisfying sound and is fun to play (to a point)
- It connects novices with both electronics history and a contemporary culture
- You can house it so many different ways and…
- By swapping out the potentiometers for other variable resistors (sensors) you can make it react to all sorts of user and environmental actions and that’s the basis of interactivity
So clearly, I’m a big fan. However, for the longest time I’ve been using a breadboard version I built many years ago to demo the project. This works because students see how the connections are done in a breadboard, which is helpful if you’ve never used one before. Mine also uses two 555 timers instead of one 556, so students can’t just straight-up copy it without thinking. The problem is that it’s just not that much fun to demo. So, I decided it was time to build a new one in a proper housing.
Despite all the attention this little circuit gets and all the variation built around it, I’ve only seen a few examples using the Atari 2600 Paddle Controller. One simply uses two of them as control knobs, and another one uses a photoresistor as the second control. I felt like it deserved something better. The paddle controller has a built-in 1Mohm pot that you don’t even have to remove or swap (assuming it still works) so you can actually build on top of the original hardware. Plus the ergonomics of the paddle are awesome. This really feels like a musical instrument, it’s natural to hold and the motion is far smoother than the sounds.
So without further ado, here is my new Atari Punk Paddle:
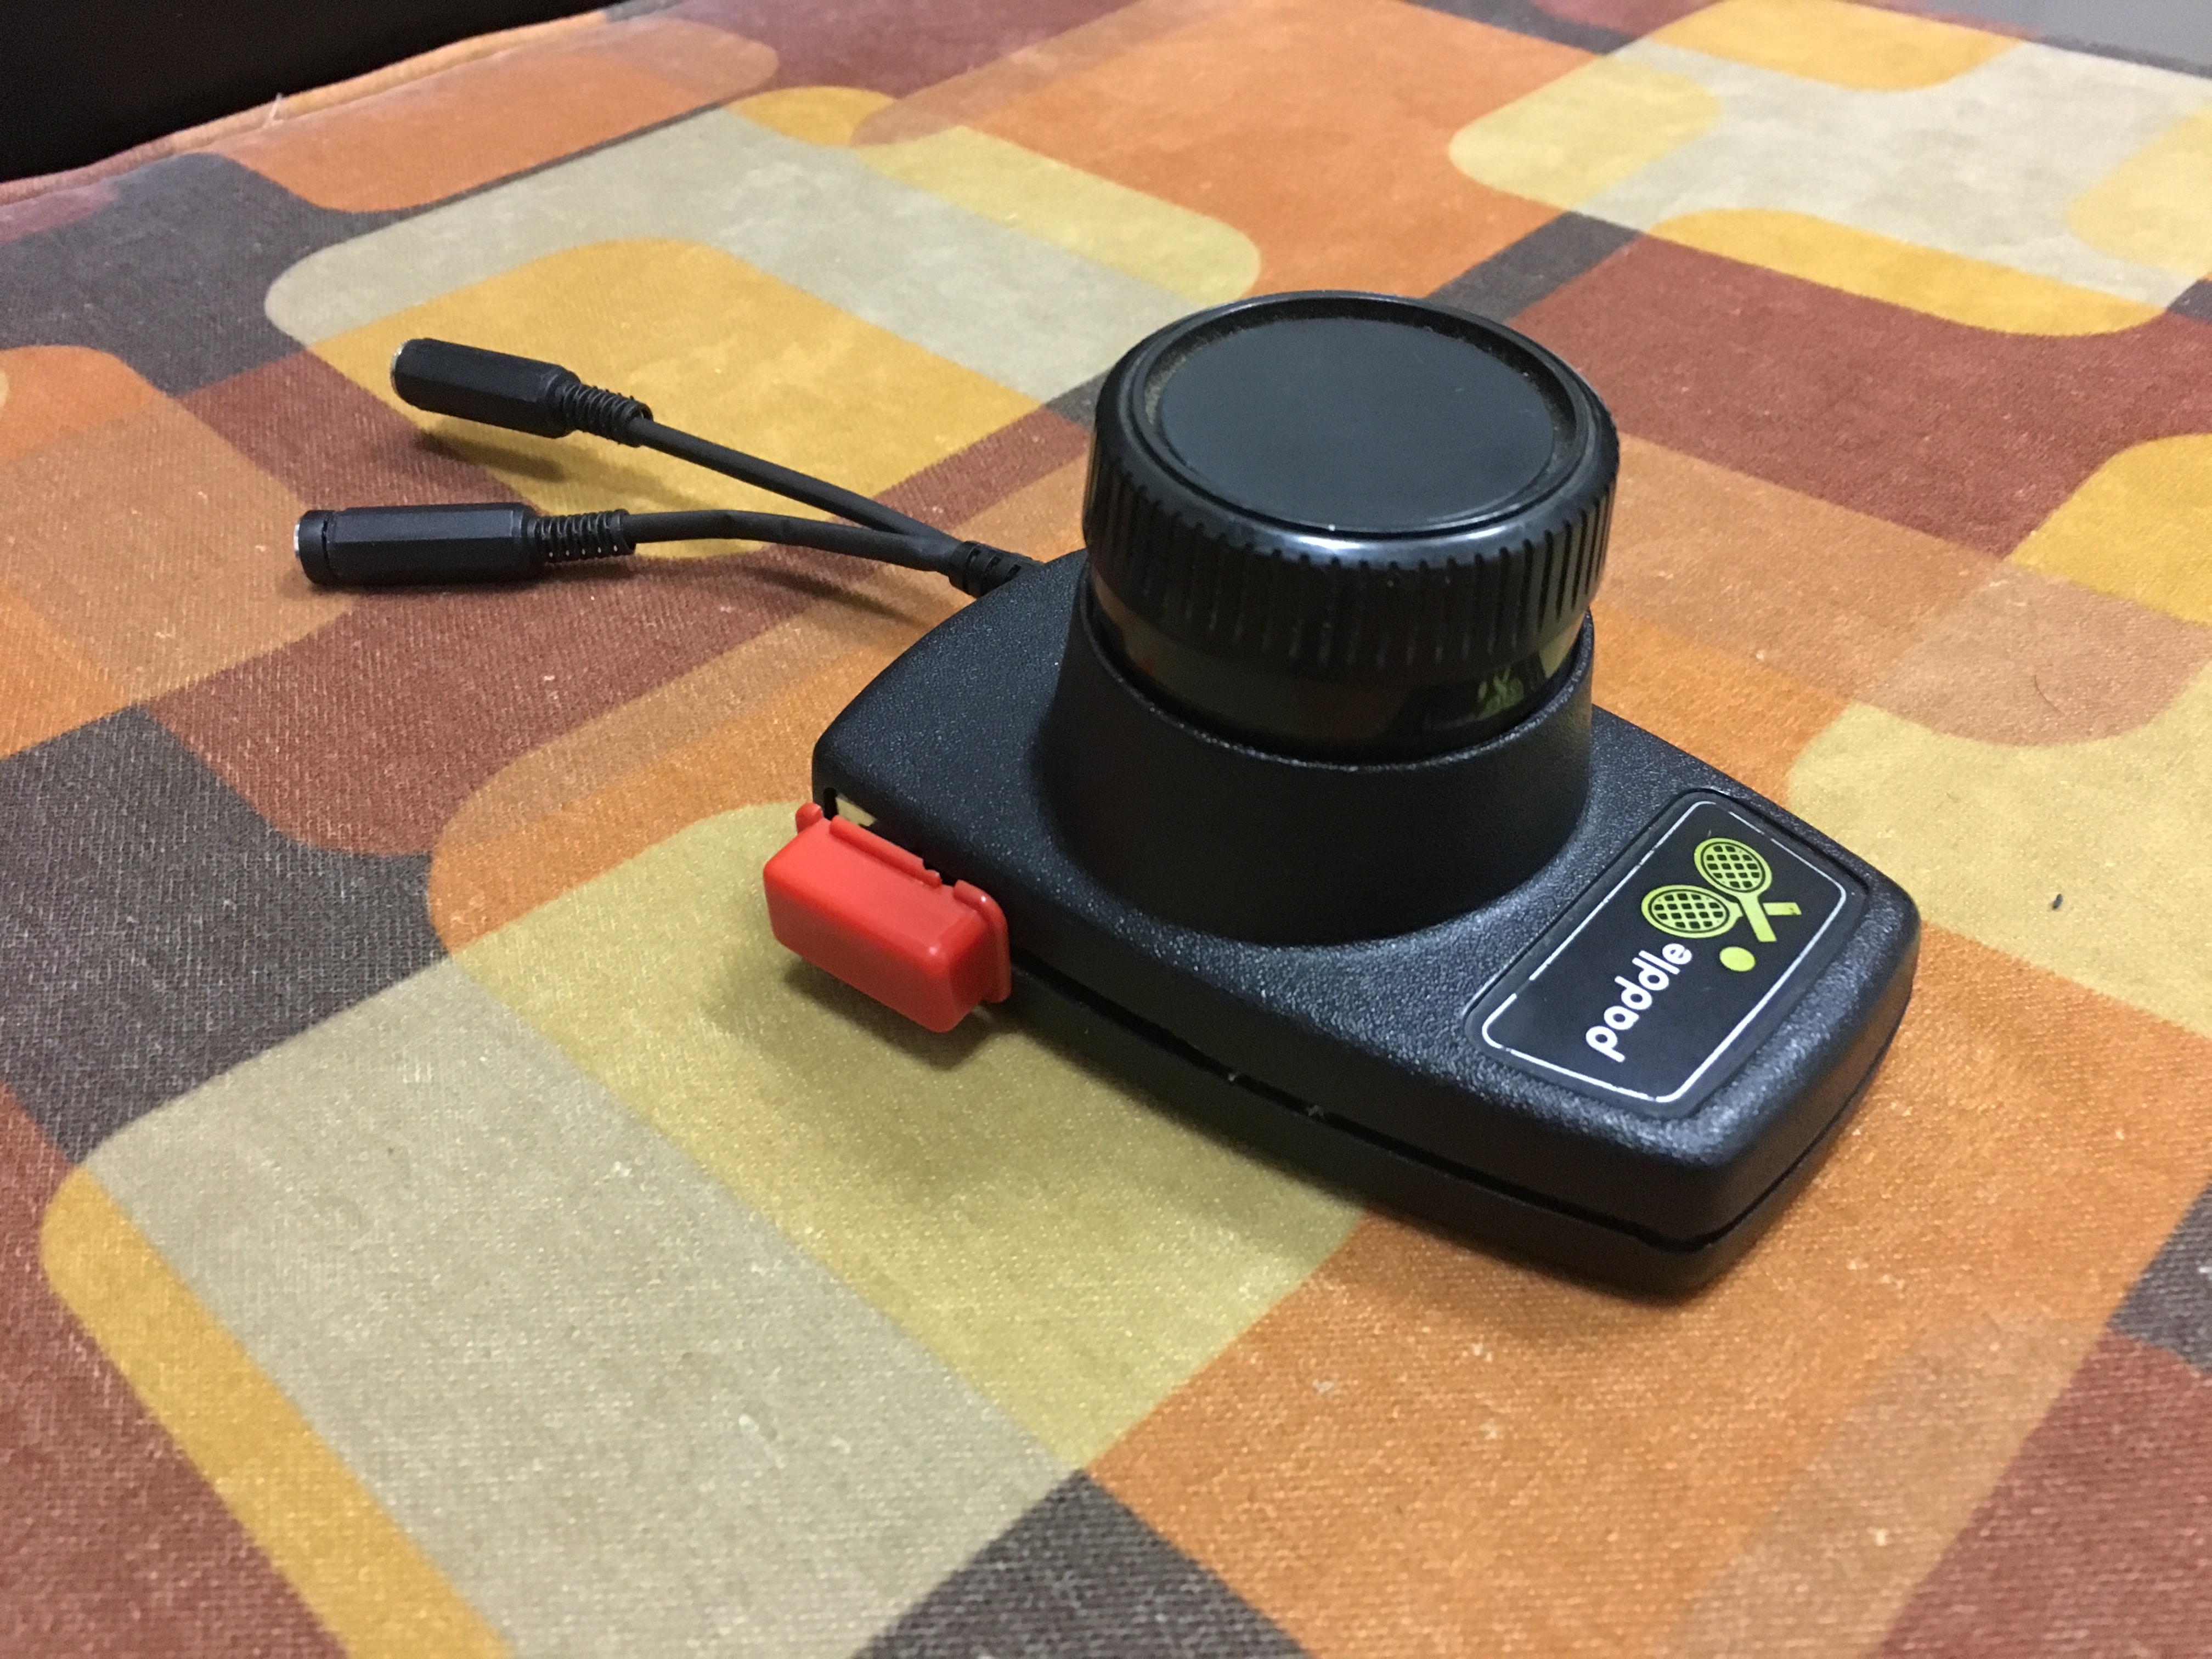
There’s a video demo at the bottom, but let me explain some of the awesome features here. First, as I mentioned, I used the original pot and most of the original case. I did cut the cord and replace it with a Y-connector that I made, one side for 9V input and one for Line-out, it’s classic mono, but could easily have been stereo.
The best part is the button. Of course the APC does not traditionally have a button. Yes some people add them in as on on/off or to cut the sound to get a more percussive effect. I took a different approach and used the physical plastic button as the knob on a sliding 1Mohm pot. You can see it better in the second picture below:
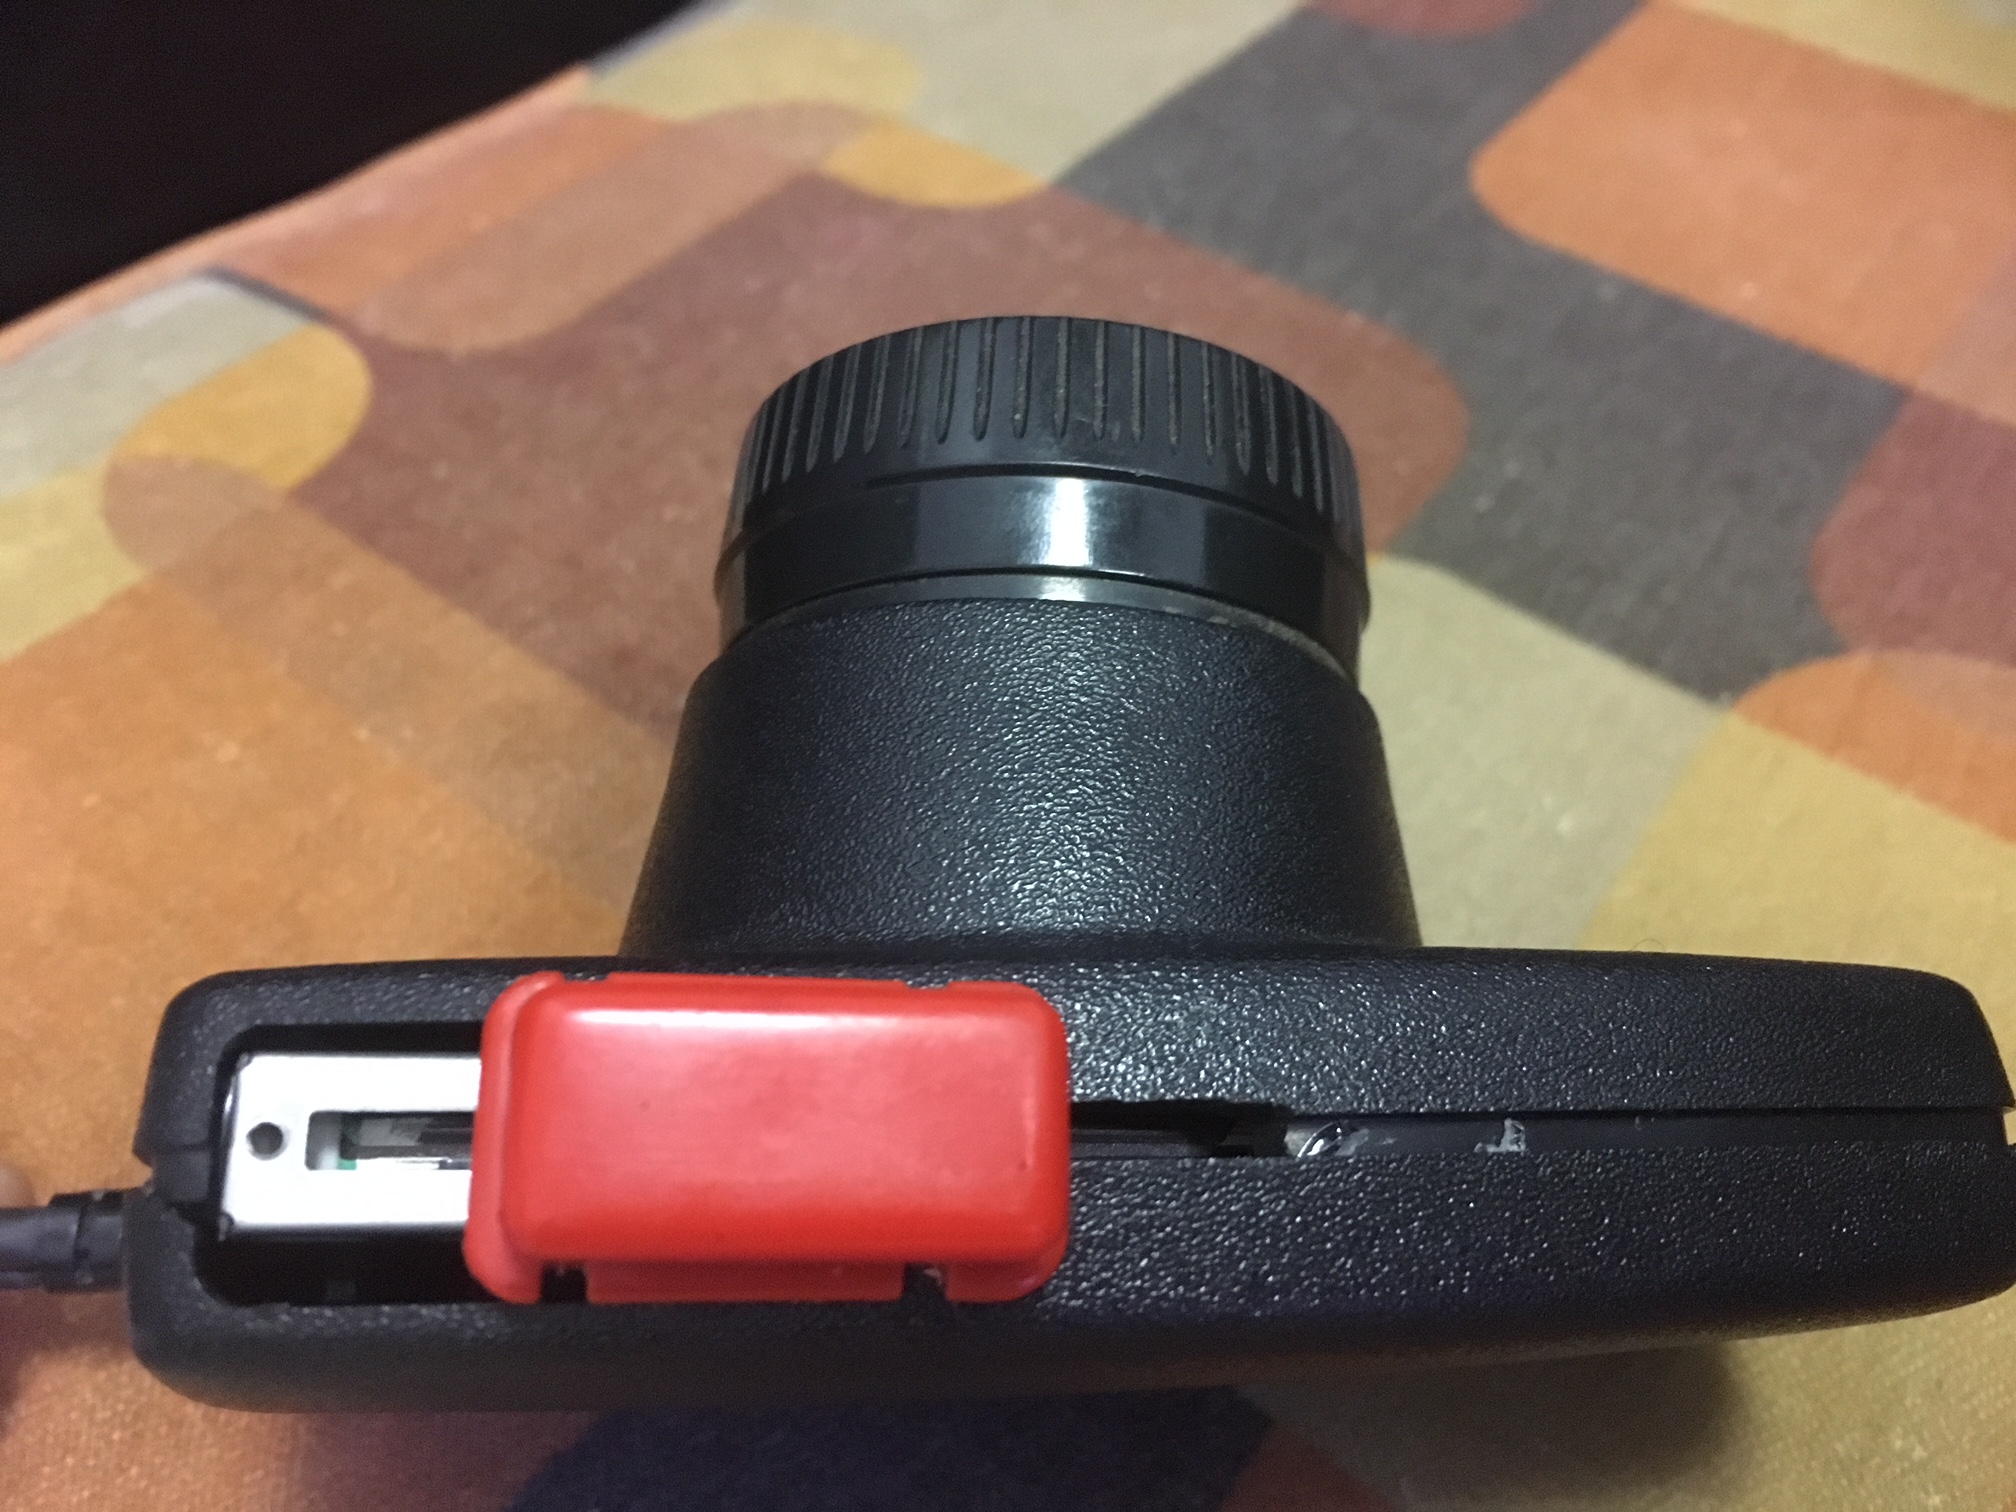
i had to **very carefully** dremel just about 1/8th of an inch off of an 1.5in section of the paddle plastic to accommodate the total range of motion for the sliding pot, but that’s the only modification I had to make to the case (there is a ton of room in there). I also had to slice the button in half (it’s bulky) and ditch the spring mechanism and momentary switch. Getting it to stay in place was also fairly straightforward as the slide is big and sits nicely atop a small pillow of hot glue so it stays in just the right place. The slide is also a Logarithmic (audio) taper, while the other is linear. I choose the log pot because I wasn’t sure how comfortable it would be to slide the button all the way down the side (it’s not really that big of a deal after all) so I wanted all the audio action to be closer to where the natural button resides. This way when you hold it it barely feels any different than the original paddle. It’s a real blast to play it. I’m very satisfied.
 D5 Creation